BuildBridge

BuildBridge Help Centre

Get started, one step at a time

Choose a guide for your role. Follow the instructions and check the expected result at each step.

Getting started01

Post requests, find providers and keep project records

For owners and people organising repairs, maintenance or renovation.

  1. 1

    Choose your initial identity

    Choose Personal / landlord as your initial use. Other identities can be added later in My BuildBridge.

    Check:The initial identity shows Personal / landlord.

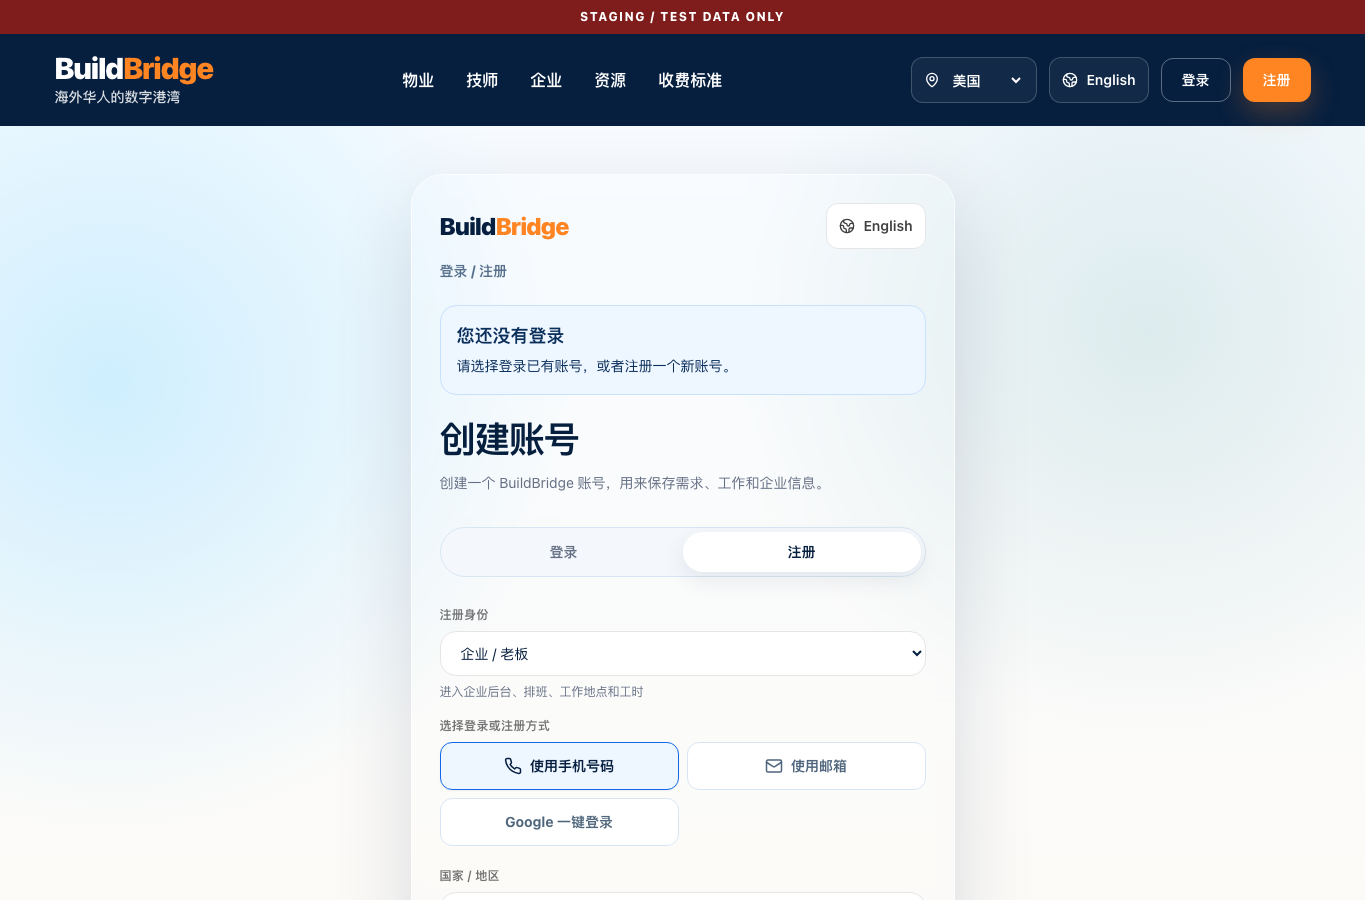
    Open registration
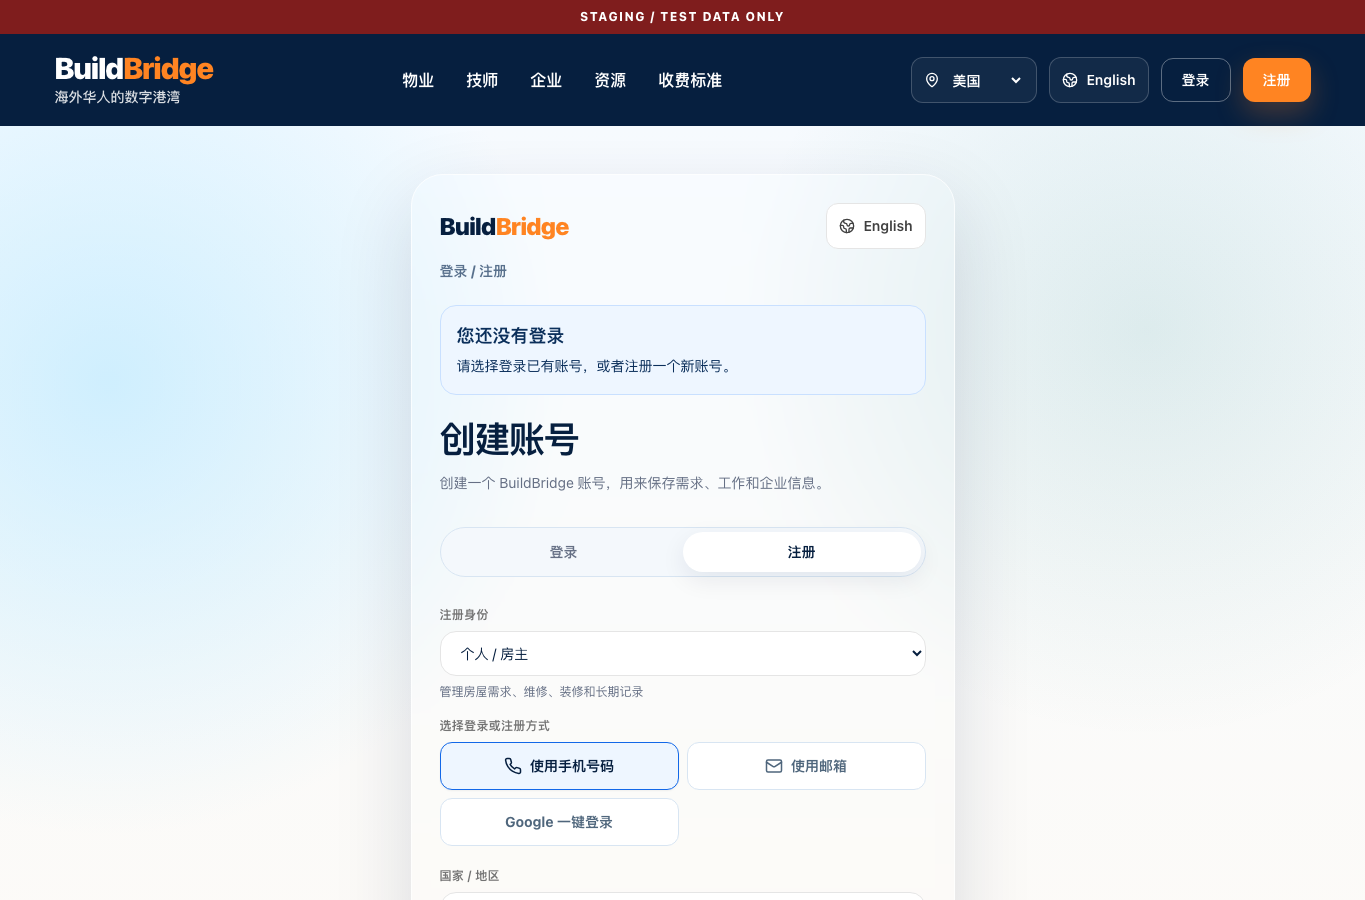
    Personal / landlord registration
    Personal / landlord registration. Use the corresponding headings and buttons; labels may change as the product is updated.
  2. 2

    Create an account with an available sign-in method

    Use an email address you can keep. Phone verification is available only when configured on the sign-in page. Keep one personal account; employees should use their business invitation link.

    Check:Registration succeeds and any requested email verification is complete.

  3. 3

    Use the same account to sign in

    Choose the sign-in method linked to your account. Open My BuildBridge to add an identity or select an available workspace; do not create duplicate accounts.

    Check:Your account is signed in and the authorised workspace opens.

    Open sign in
  4. 4

    Open your property workspace

    Keep property details, requests, projects, messages and tasks together. Start with a property record or a request.

    Check:Only records you are authorised to access are shown.

    Open property workspace
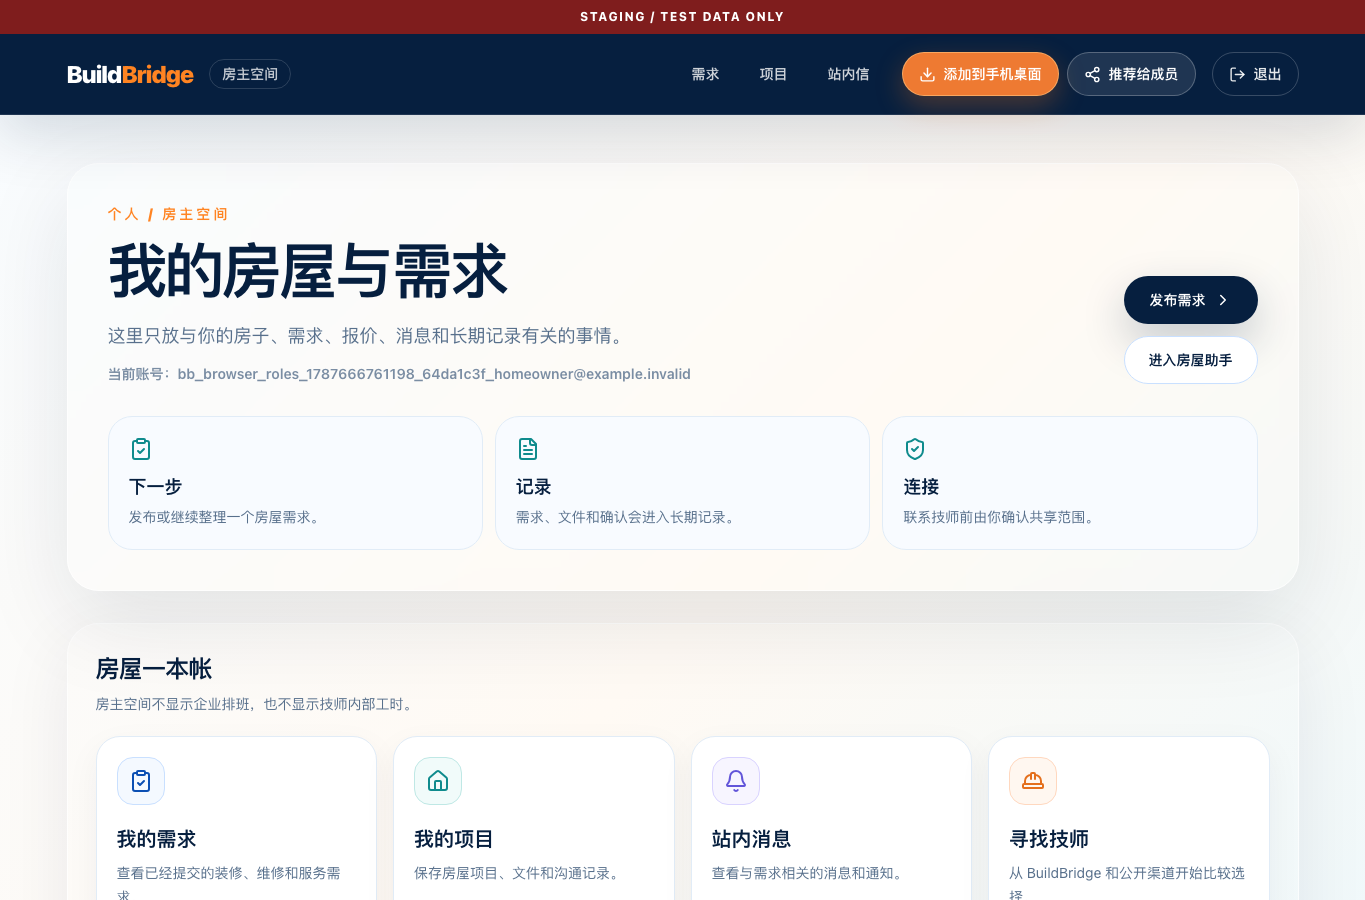
    Property workspace
    Property workspace. Use the corresponding headings and buttons; labels may change as the product is updated.
  5. 5

    Describe your request

    Choose a category, describe the issue, location, timing and contact method. Review the information before submitting; do not diagnose a dangerous fault yourself.

    Check:A receipt with a request reference appears. Email-linked requests can be followed using the same verified email.

    Post a property request
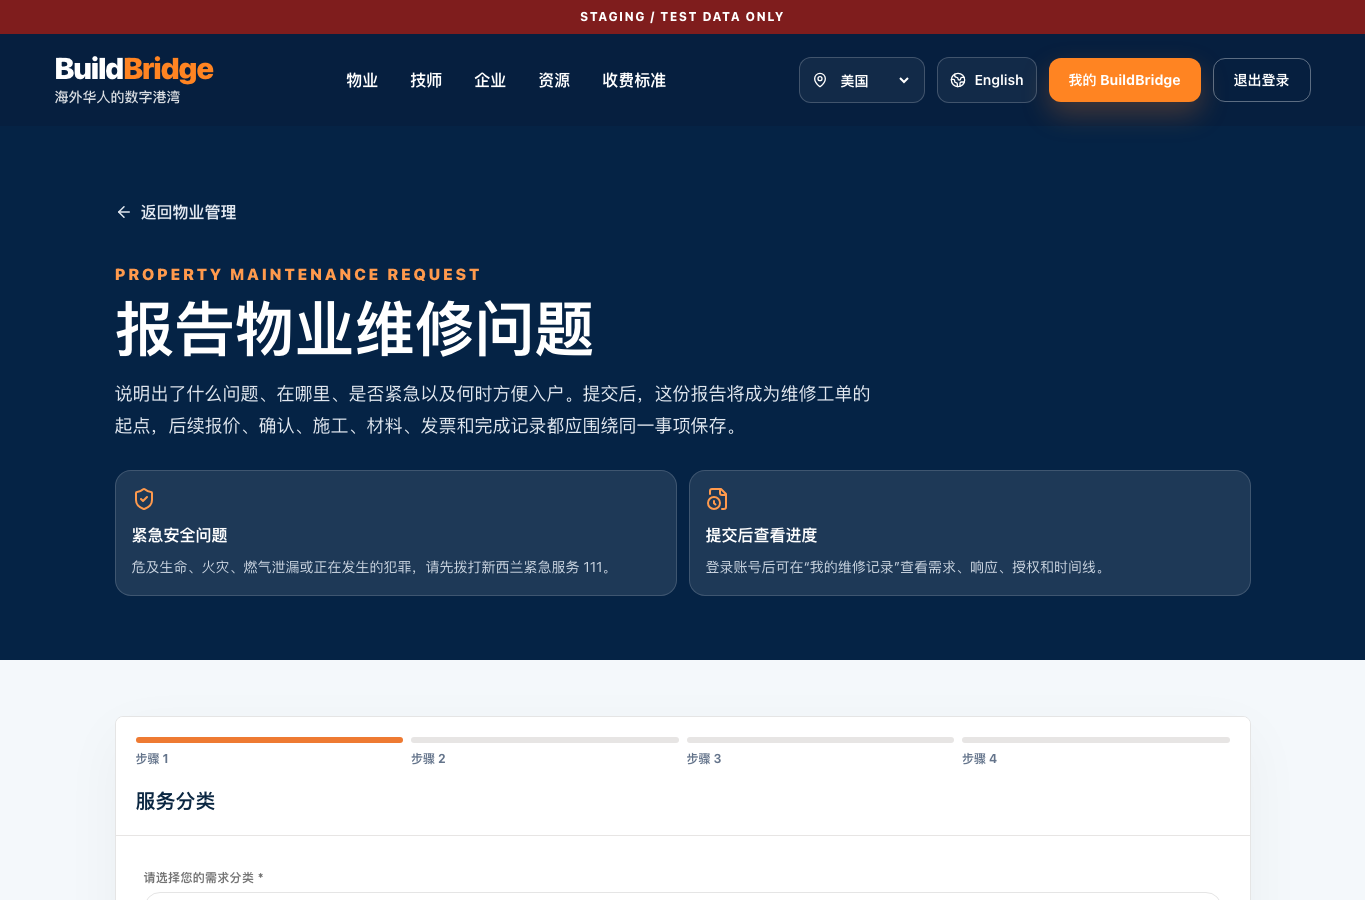
    Property request form
    Property request form. Use the corresponding headings and buttons; labels may change as the product is updated.
  6. 6

    Compare trade and business providers

    Review public profiles, trade, service area, credentials and quotes. Matching requires consent and does not automatically appoint a provider.

    Check:You have agreed the scope, timing, price, GST and licensing requirements.

    Browse providers
  7. 7

    Keep messages and project updates together

    After an authorised service relationship is established, use messages and project records. Materials, costs and invoices appear only when recorded and when you have access.

    Check:Participants can verify the latest recorded state and the source of important changes.

    View my projects

Before you continue

  • Do not send bank passwords, full identity numbers or lock codes through messages.
  • For immediate danger, contact local emergency services first.
  • Confirm labour, materials and system subscription charges separately.
Getting started02

Set up a business, invite a team and manage schedules

For business owners and authorised administrators. Employees should join by invitation instead of creating a duplicate business.

  1. 1

    Choose your initial identity

    Choose Business / owner as your initial use. Other identities can be added later in My BuildBridge.

    Check:The initial identity shows Business / owner.

    Open registration
    Business / owner registration
    Business / owner registration. Use the corresponding headings and buttons; labels may change as the product is updated.
  2. 2

    Create an account with an available sign-in method

    Use an email address you can keep. Phone verification is available only when configured on the sign-in page. Keep one personal account; employees should use their business invitation link.

    Check:Registration succeeds and any requested email verification is complete.

  3. 3

    Use the same account to sign in

    Choose the sign-in method linked to your account. Open My BuildBridge to add an identity or select an available workspace; do not create duplicate accounts.

    Check:Your account is signed in and the authorised workspace opens.

    Open sign in
  4. 4

    Complete business setup

    Enter the business name, legal details, service area and main trade. If the business already exists, ask its owner for an invitation.

    Check:The workspace shows the correct business name.

    Open business setup
  5. 5

    Explore the business workspace

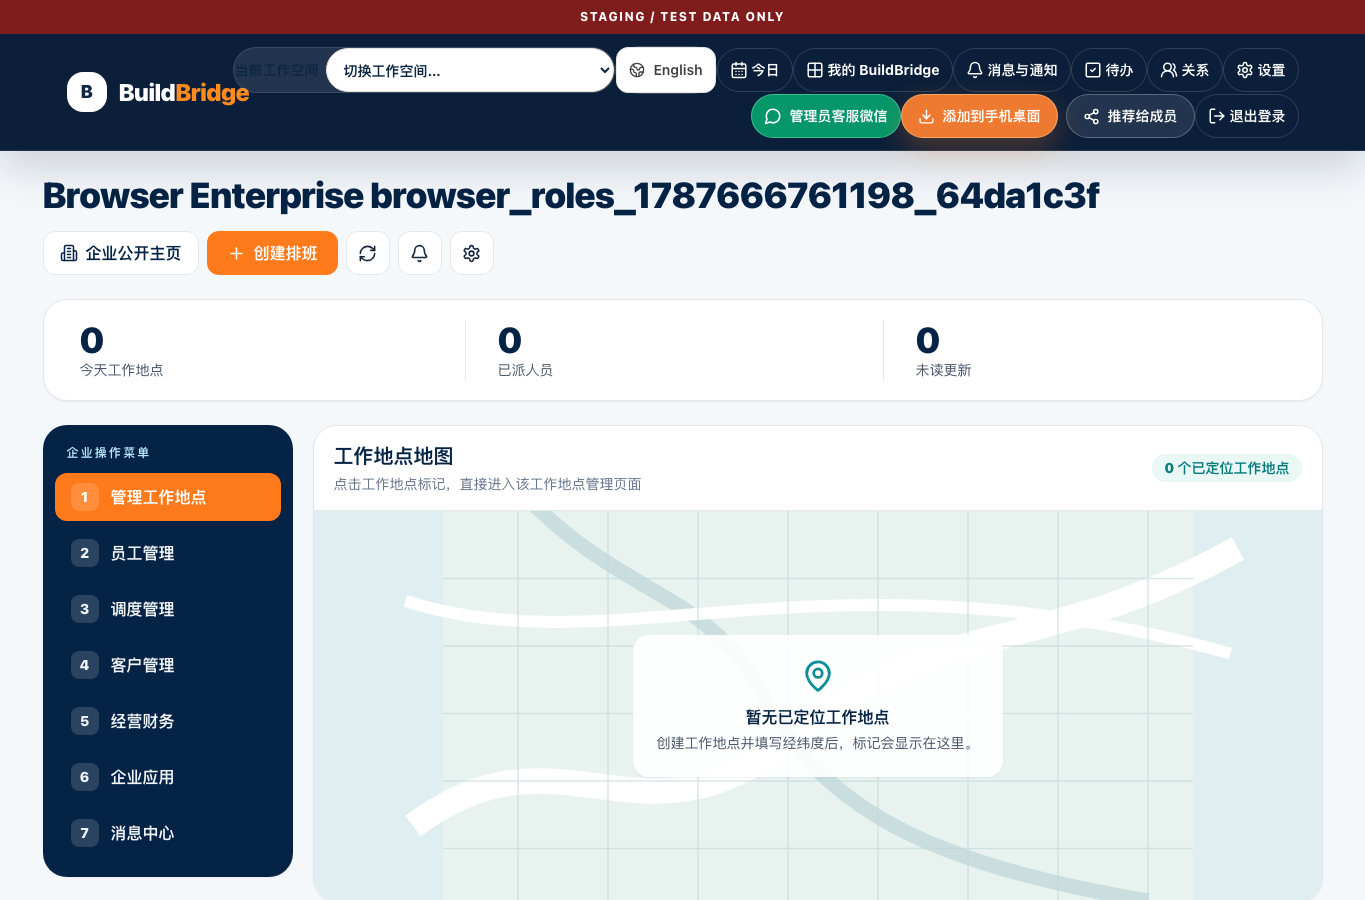
    Tools cover people, sites, operations, time, materials, finances and documents. Check your people, sites and projects before scheduling.

    Check:Confirm the business, your role and permitted actions.

    Open business workspace
    Business workspace overview
    Business workspace overview. Use the corresponding headings and buttons; labels may change as the product is updated.
  6. 6

    Invite people and prepare work sites

    Create an invitation and share its link. The person joins only after acceptance. Create real sites and projects and assign the foreman's scope.

    Check:The invitation is accepted and the correct sites and projects are available.

    Manage people
  7. 7

    Create and publish a schedule

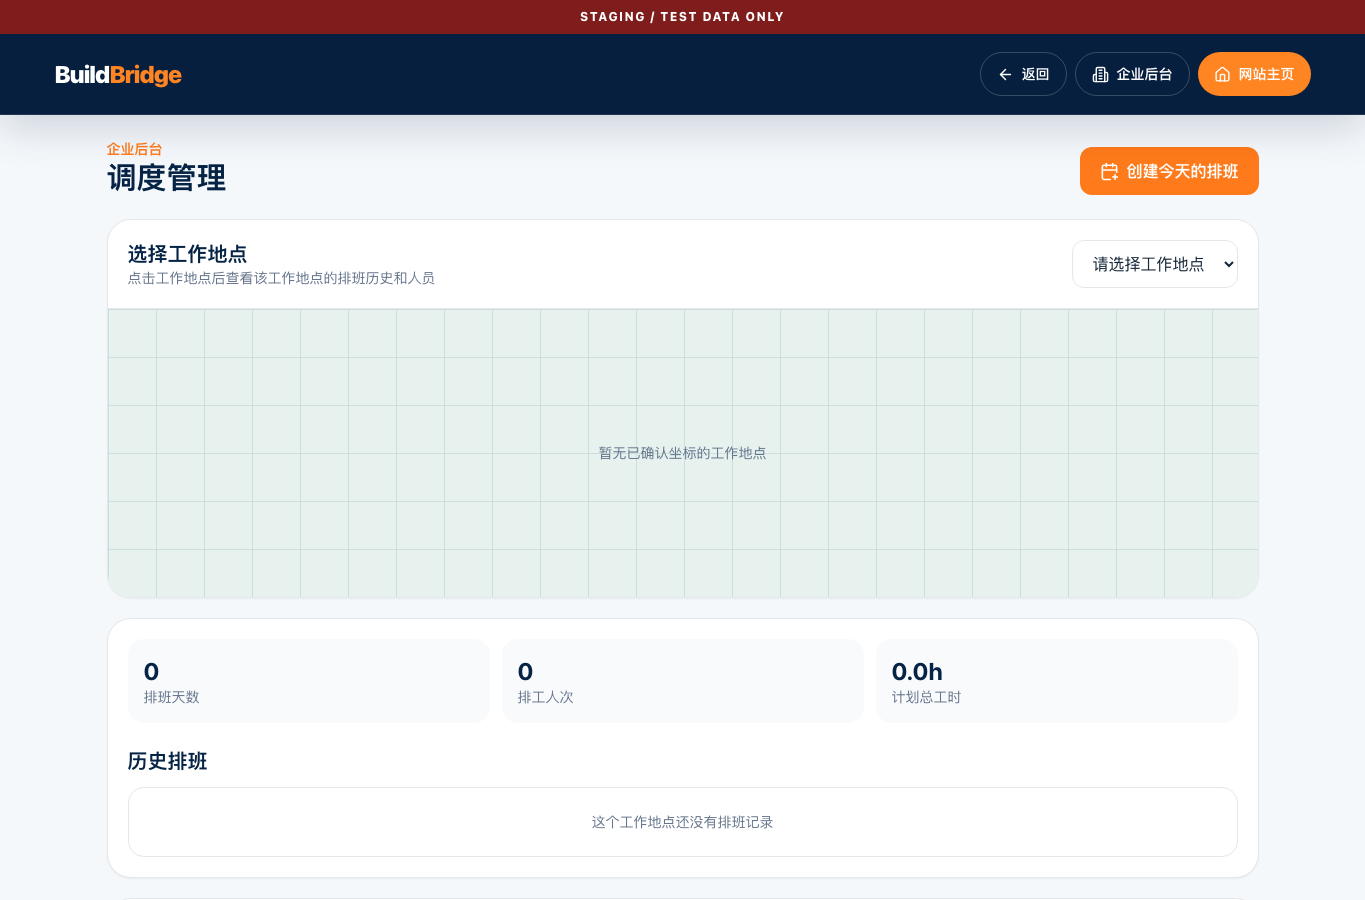
    Choose dates, sites, projects, times and people. Save a draft, check overlaps, leave and availability, then publish. Drafts do not notify employees.

    Check:The shift is published and appears in the assigned person's workspace; check notification delivery separately.

    Open scheduling
    Business scheduling page
    Business scheduling page. Use the corresponding headings and buttons; labels may change as the product is updated.
  8. 8

    Review time, materials and finances

    An authorised person reviews submitted time. Link purchases, costs, quotes and invoices to the correct people, projects and customers.

    Check:An approved record retains its submission and review history.

    Open business finances

Before you continue

  • Owners have business administration access; other roles are limited to their authorised scope.
  • Keep reasons for schedule and financial changes.
  • Payroll, GST and legal conclusions still require professional review.

Getting started03

Build your profile and manage authorised work

For independent professionals, contractors and people working through business invitations.

  1. 1

    Choose your initial identity

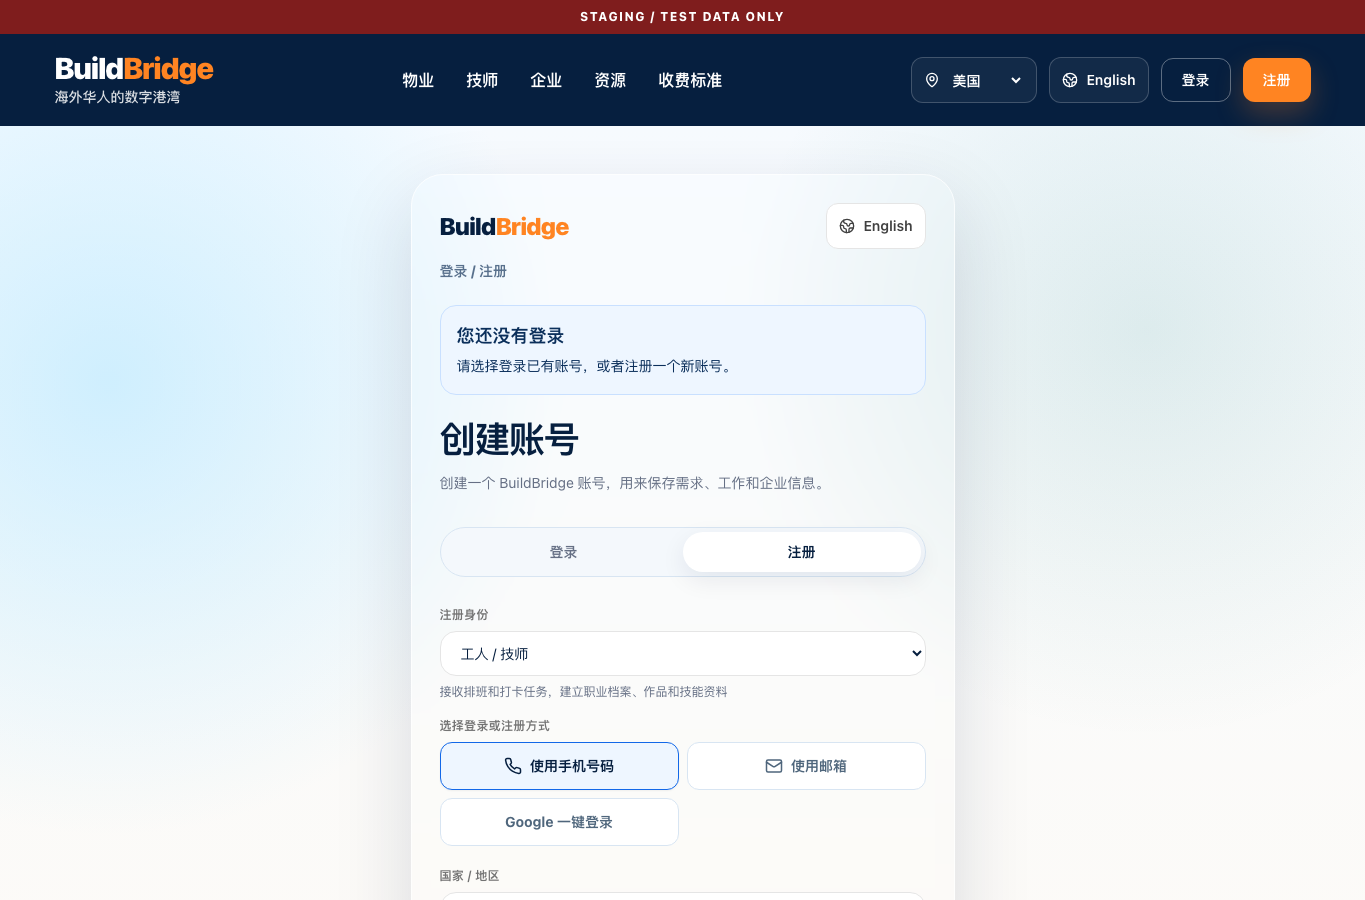
    Choose Worker / trade professional as your initial use. Other identities can be added later in My BuildBridge.

    Check:The initial identity shows Worker / trade professional.

    Open registration
    Worker / trade professional registration
    Worker / trade professional registration. Use the corresponding headings and buttons; labels may change as the product is updated.
  2. 2

    Create an account with an available sign-in method

    Use an email address you can keep. Phone verification is available only when configured on the sign-in page. Keep one personal account; employees should use their business invitation link.

    Check:Registration succeeds and any requested email verification is complete.

  3. 3

    Use the same account to sign in

    Choose the sign-in method linked to your account. Open My BuildBridge to add an identity or select an available workspace; do not create duplicate accounts.

    Check:Your account is signed in and the authorised workspace opens.

    Open sign in
  4. 4

    Complete your professional profile

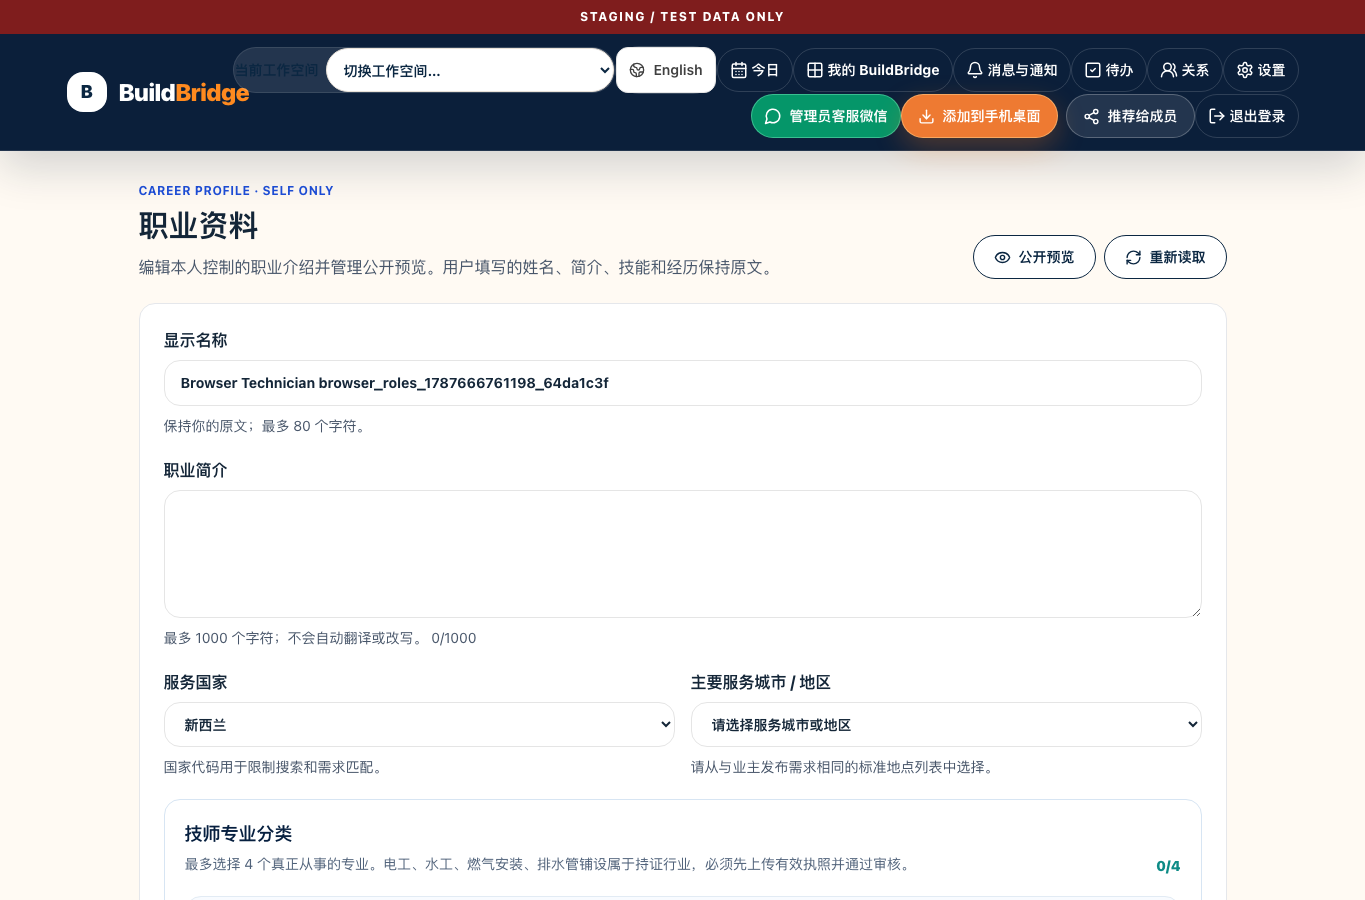
    Add your public name, description, service area and genuine skills. Supply relevant portfolio and current credential records. Regulated work requires appropriate licences; verify them with the official register.

    Check:Only consented, approved information appears publicly.

    Edit professional profile
    Professional profile editor
    Professional profile editor. Use the corresponding headings and buttons; labels may change as the product is updated.
  5. 5

    Choose publication and work preferences

    Public profile, business opportunities, private jobs and trial participation are separate choices. Enable only what you want to take part in; withdrawing consent does not erase prior records.

    Check:Public visibility and availability match your current choices.

    Open professional workspace
  6. 6

    Review requests, invitations and opportunities

    Review the area, trade, description, quote basis and licence requirements before accepting. An enquiry does not itself create employment.

    Check:Accepted work shows its recorded state and next action.

    View work opportunities
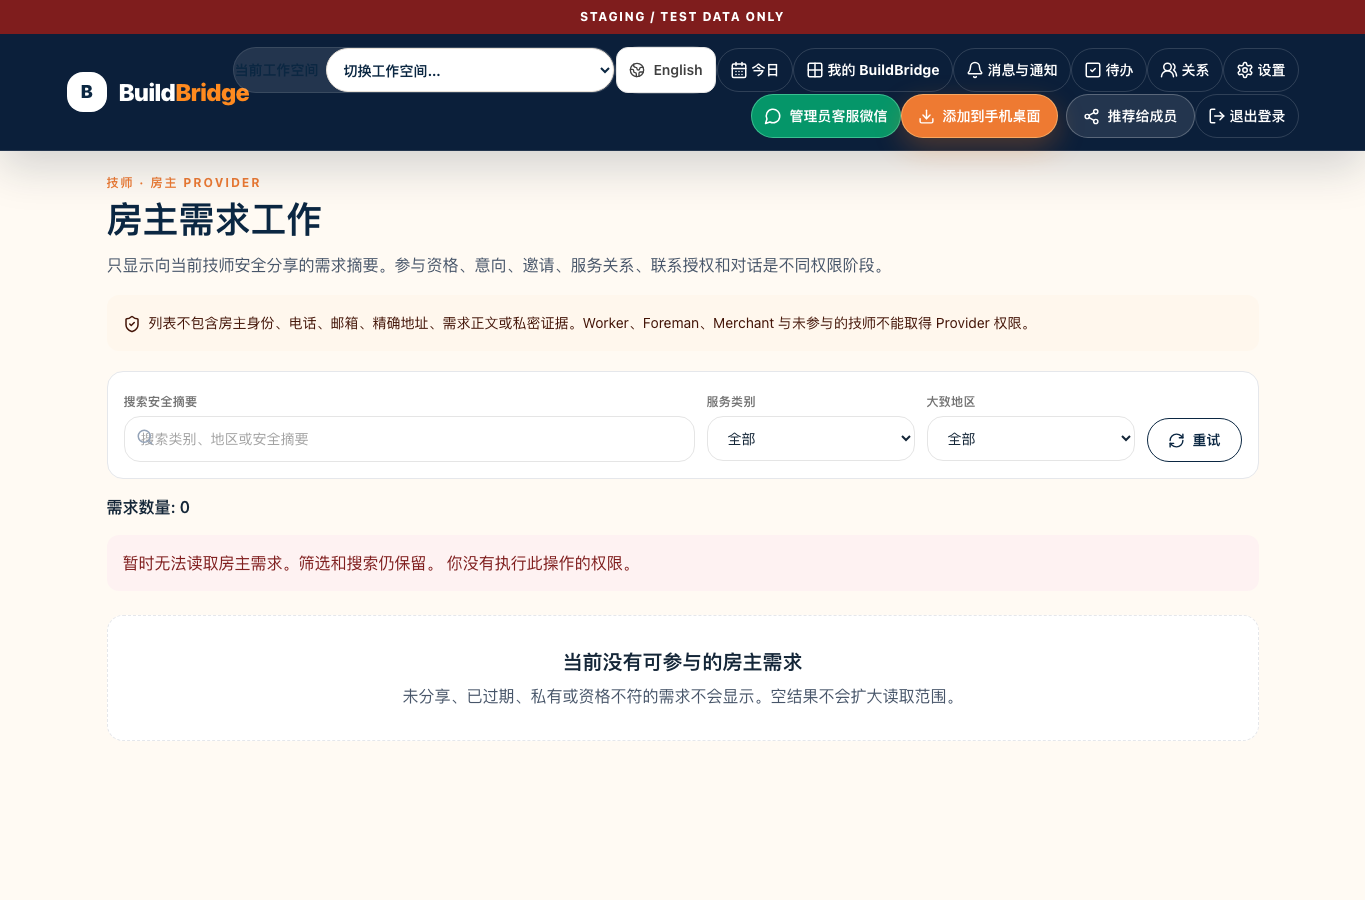
    Professional work opportunities page
    Professional work opportunities page. Use the corresponding headings and buttons; labels may change as the product is updated.
  7. 7

    Confirm scope and record progress

    Use authorised messages to confirm scope, arrival time and changes. Record actual progress, materials and completion evidence.

    Check:Both participants can access the authorised conversation and current record.

    Open messages
  8. 8

    View schedules and record attendance

    After joining a business through an invitation, use the mobile work centre to view schedules and record attendance, breaks, transfers and departure. A personal profile does not replace business membership.

    Check:Check that assigned tasks and recorded time match the business records.

    Open mobile work centre

Before you continue

  • Do not offer regulated work without the appropriate current licence.
  • State hourly rates, minimum charges, travel, materials and GST before agreement.
  • Business membership, private work and public profile consent are separate permissions.

Need help with the next step?

Include your role, page address, step and the message shown. Hide passwords, verification codes, bank details, tax numbers and private addresses before sharing a screenshot.

BuildBridge

BuildBridge helps overseas Chinese find trusted information, the right people and a clear next step.

Legal operator: Details awaiting confirmation · NZBN: Not supplied

Address for service: Not supplied; please contact us by email

admin@buildbridge.nz · 021686237

Service hours: To be confirmed; no 24-hour emergency response

Complaints, privacy access and correction requests: contact the email above.

© 2026 BuildBridge. All rights reserved.